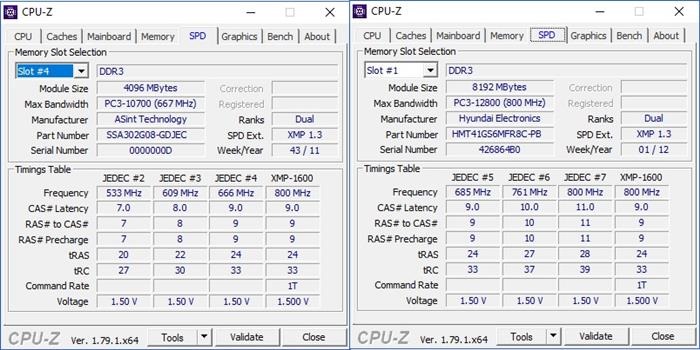
In this guide, we will show you how to do RAM overclocking in laptop. The instructions given below work with most laptops but if you have a 4th generation Intel laptop, this overclocking guide may not work. We will be hacking the first 128 bytes of data that is used to store the RAM settings including their clock speed. If one is able to unlock this portion, you can hack it to run at higher JEDEC speed. Modifying this portion is risky and you may experience write problems so do not yell at us if something goes wrong. We will be making use of XMP profiles to overclock RAM in laptop.
XMP profiles are handy in following situations.
* RAM have locked first 128 byte region and have lower speeds that you CPU supports
* RAM have high speed bins and your CPU supports them, but your laptop manufacturer don’t allow you to use high speeds (say hello to HP)
* RAM and CPU have max speeds and you want to change timings to make it run as fast as possible
For that, we will need tb2bin utility to do the following.
* Create an XMP profile in ready-to-flash binary format (.bin) from Thaiphoon Burner XMP profile (.emp)
* Create an RWEverything file format (.rw) from binary (.bin)
* Dump, flash and erase SPD or XMP on your RAM modules
Now for instance, let us say we want to overclock a RAM that runs at stock 1333MHz speed and another at 1600 MHz speed and maximum speed supported by our laptop’s chipset is 1600MHz. You now want to run both sticks at 1600MHz. Follow these steps on how to do it.

* Download RWEvrything from here.
* Open it, go to Access >> DIMM SPD and check you DIMMs information and remember their addresses. You should see 0xA0, 0xA2, 0xA4 and 0xA6 devices – it’s your RAM modules – if you have 4 slots occupied. Or something like that. After, close this application.
* Now, let’s make backups of current SPDs. Open tb2bin utility, go to the SPD dump section and enter the address you want to dump – or addresses separated by space. Enter them without "0x" prefix, so it would look like "A0" or "A0 A2 A4" if using multiple addresses.
* Next thing we do is writing XMP to the SPD. Place your XMP binary – or SPD binary with XMP region at the same folder with "run.bat". Go to the XMP flashing section, point the file name you want to flash and enter the address you want to be flashed with our XMP – or addresses separated by space.
* If you have done all the steps correctly and weather is sunny – congrats, flashing is done.
Now we have to make the RAM use XMP profile instead of JEDEC. Then follow the steps given here to make it do that.
